
 Yes, I'll admit it I have a problem. Maybe you've heard of "OCD" or "obsessive- compulsive disorder"? My condition appears to be OC-SQ-D where the "SQ" stands for "silage quality."
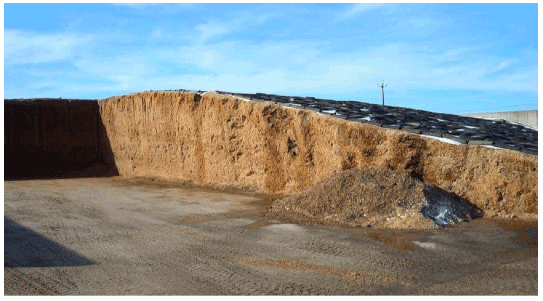
 I like to get on top of bunker silos to check out the plastic. I like to see the silage quality on the surface and in the upper foot or so of the ensiled material.
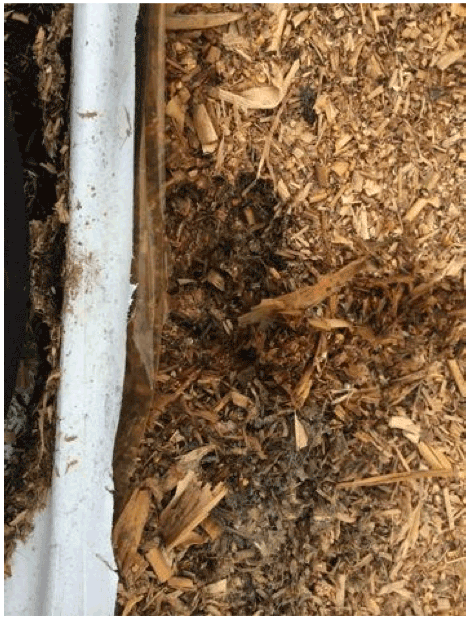
It's amazing sometimes how much rot is up there. And no one knows about it except the guys removing the tires and cutting back the plastic.
Serious spoilage
Surface spoilage is a serious issue for several reasons:
- It represents lost feed money. The actual loss is probably 2-3 times more than it appears because much of the loss went up as carbon dioxide resulting from the respiration of undesirable organisms growing on it.
- Surface spoilage also can disrupt normal fermentation occurring in the rumen, reducing milk production and feed efficiency and causing indigestion.
- Mold organisms are a major cause of abortions.
- The risk of hemorrhagic bowel syndrome is likely
greater if surface spoilage is fed to cows. - It's very difficult to feed for a low level of refusals if a couple of percent of the forage is rotten.
- Removing spoilage with the loader bucket or defacer typically results in the loss of some good silage along with most of the bad, but often not all of the bad.
- Forking off surface spoilage takes time and is hazardous. The U.S. Occupational Safety and Health Administration (OSHA) has the authority to inspect dairies. Worker safety while working with silos is one of OSHA's focus areas.
Keys to prevention
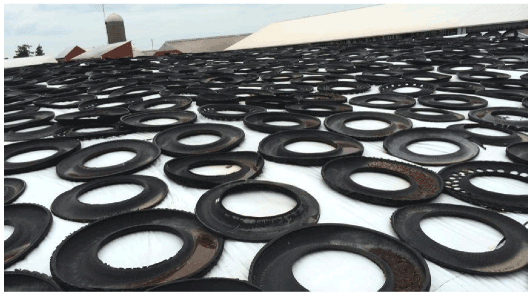
To avoid these problems, the objective is to minimize surface spoilage as much as possible. The vast majority of silage bunkers now are being covered with plastic and tires. This practice helps, but it needs to be done correctly to really minimize spoilage.
Here's how to increase your odds for success:
- Pack the top and upper surface of the bunker very well. Try to use relatively wetter forage at the top if at all possible. The goal is to have as little air as possible left in this surface silage.
- Start covering ASAP after filling is completed.
- In covering, if possible, first use a low-permeable-oxygen plastic barrier. A thin film of plastic, even if it isn't of low oxygen permeability, seems to help reduce spoilage. I think this is because the plastic clings tightly to the forage, minimizing airflow beneath the plastic and increasing moisture levels via condensation at the silage surface. This surface moisture helps as an oxygen barrier.
- Cover with white-on-black (aka white/black) plastic. For example, there is a commercial product with a very tough, 7 mil reinforced plastic that includes plastic film with reduced oxygen transmission. I recently tried to tear a piece off of a bunker it doesn't rip, you need to cut it. Research indicates that results with this product were nearly as good as with the low-permeable- oxygen plastic barrier along with a 5 mil white/black plastic cover. However, it is critical to place sufficient weight on top of the reinforced plastic or any single layer of plastic to keep it in tight contact with the surface. Otherwise, spoilage may result from air movement beneath the plastic. The thicker plastic does not adhere to the silage mass the same way a thin film like the low-permeable-oxygen plastic barrier does.
- Seams in the silage cover should be overlapped at least 4 feet. Additional weight should be placed over seams to prevent any risk of air entry or plastic being blown off.
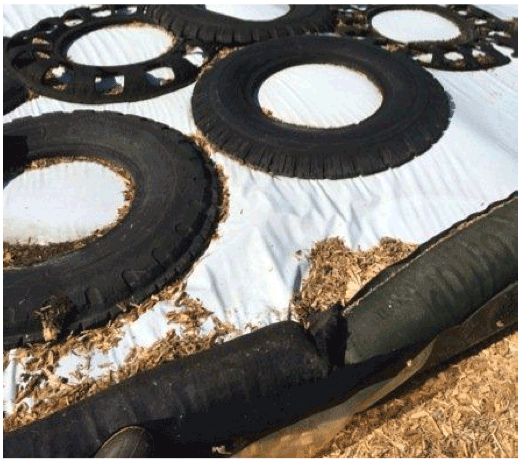
- Cover the entire plastic-covered surface with tires. If tire sidewalls are used instead of full tires, then full tires or gravel-filled tube bags should be used along all edges, including the edge being fed out. Again, the goal here is to prevent any air from getting under or traveling beneath the cover.
- The green silage tarp helps to prevent spoilage, both by minimizing the risk of damage to the plastic from birds and wildlife and by holding the plastic down tight to the silage to minimize air movement beneath the plastic. Gravel-filled tube bags are typically used with this system, with bags placed along all edges and in rows spaced approximately 20 feet apart across the bunker surface.
- During feed-out, remove surface plastic over the silage face at least twice per week, exposing silage for no more than 4 days. However, if silage temperature is increasing significantly or obvious spoilage is occurring, then reduce the interval between plastic removals. More frequent plastic roll- back, especially in hot weather, helps optimize the investment in silage management technology.
Safety first
Most important: Think safety. Train employees in safe practices, both for working near the silage face and for working on top of the pile.
Come to think of it, the "SQ" in my OC-SQ-D could be "safety and quality" when it comes to silage management.
8.12.2014